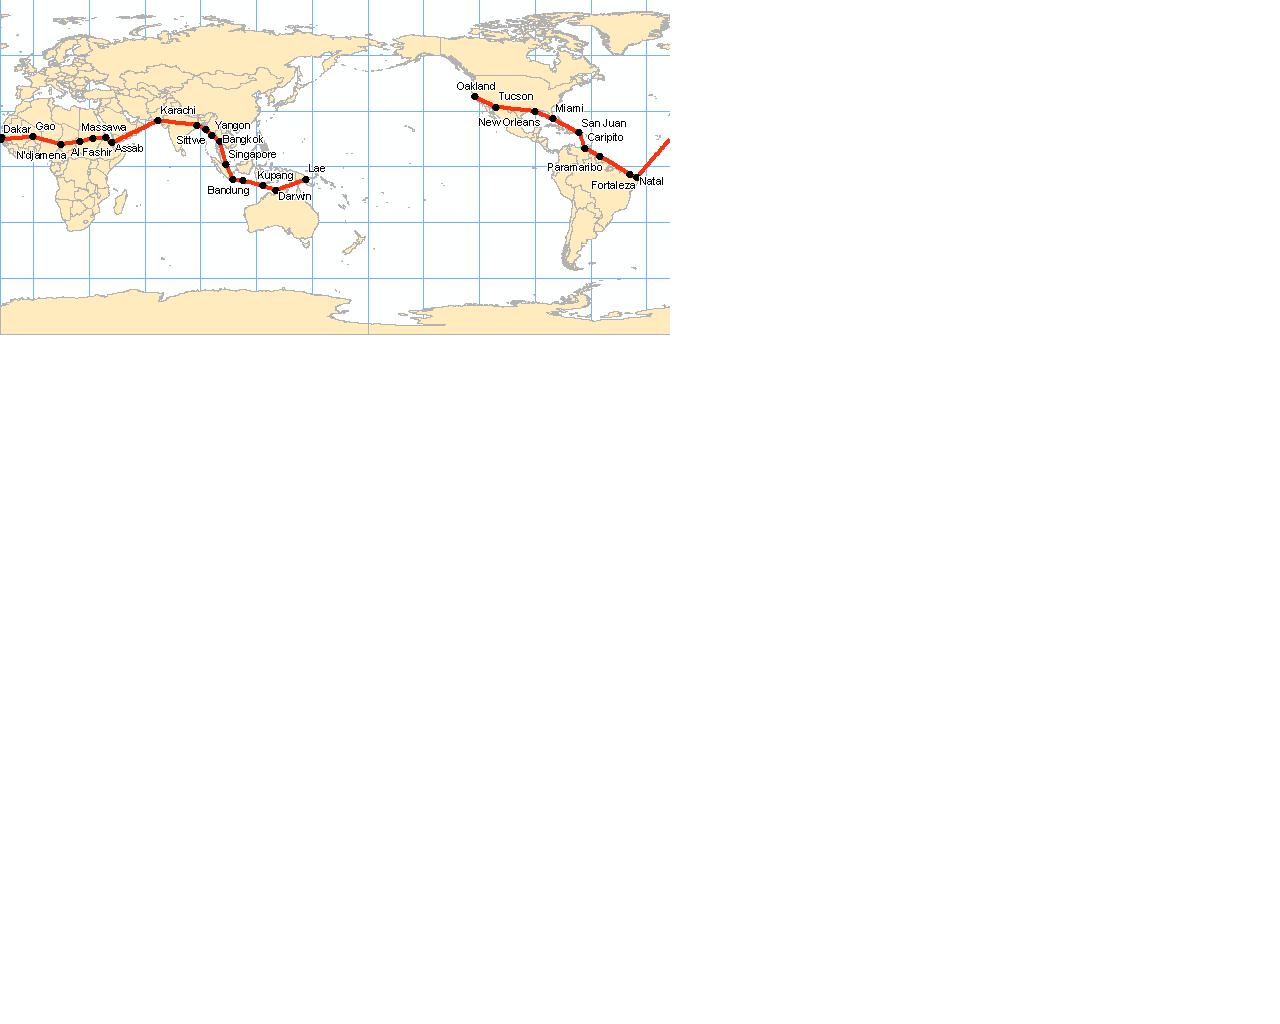
First Picture
Second Picture
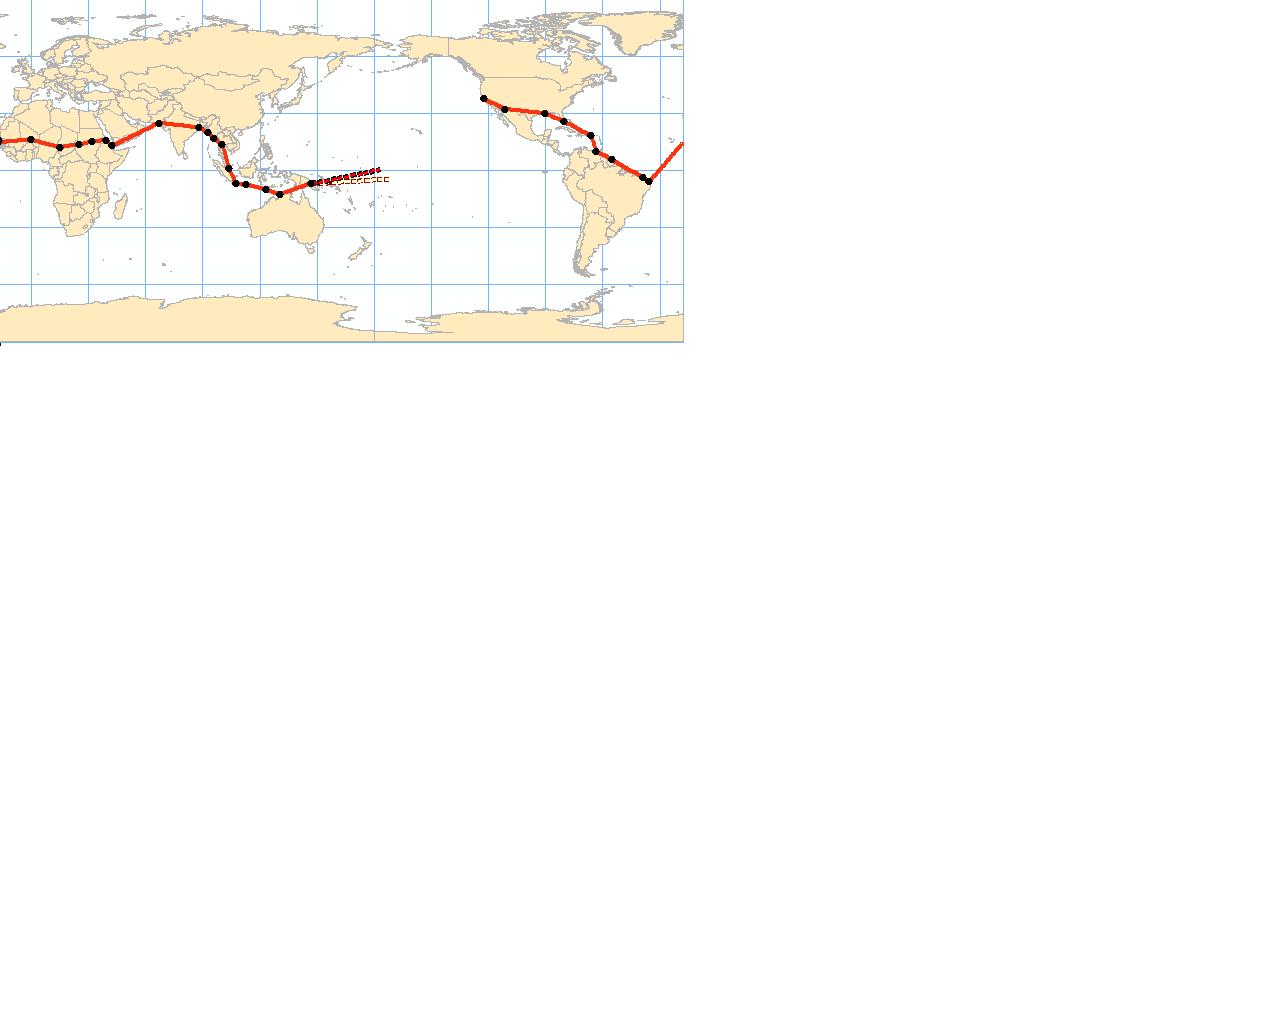
Third Picture
Explanation