Step 4: Find the puncture, continued
- If some air remains in the tube or you did not find major damage to the tube, use that air. Otherwise, pump a little air back into the tube.
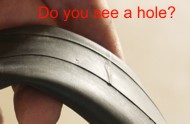
- With your ear close to the tube, run the circumference of the tube slowly through your hands. Listen for a light blowing sound coming from a small puncture hole, and feel for air blowing onto your face.
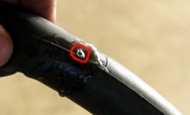
- If you hear and/or feel air, stop and look at the tube. Do you see a small hole, or a place on the tube that might be one? Spit some saliva onto your finger and put it on the possible hole on the tube -- you could also water. Watch for bubbles to find where on the tube is expelling air.
- If you don't find any holes in the tire, put a little water or saliva into the valve, and see if there is a leak through the valve. If your valve is leaking, you will need to replace the the valve core or the tube.
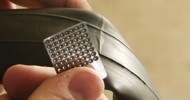
Step 5: Patch the hole
Now that you have found the puncture site, you can patch it, making it at least almost as good as new. There are a few steps you need to take to make the patch work its best.
| Note: These steps are for the standard patches with glue. Some new self-adhesive patches do not require all the steps, and some can be applied directly to a clean, dry tube surface. Refer to the directions for your patches for specific instructions. |
- Dry the surface of the tube around the hole, and make sure it is clean.
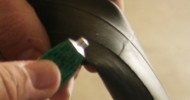
- Use the small rasp or small piece of sandpaper in your patch kit to roughen the surface around the hole. This allows the glue to adhere well and keep the patch in place.
- Apply a thin layer of glue, about an inch in diameter around the hole.
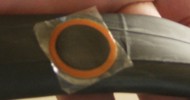
- When the glue has mostly dried, apply the patch and press the whole surface of the patch onto the tube.
- When the glue is dry, bend the patch, causing the plastic film to crack. Remove the plastic film. Your tube is patched.
- Pump some air into your tube, and repeat the listen and feel check, to make sure you didn't miss any holes.
- Repeat the look, saliva/water test and patching steps if you find additional holes.
When no holes or leaks remain, it's time to put the wheel back together and get ready to ride.
All rights reserved